All About Raspberry pi | Ultimate Tutorial For Mac and Windows | 2020.
- This Raspberry Pi Ultimate tutorial blog will comprise of the following topics:
- What is Raspberry Pi?
- Capabilities of Raspberry Pi
- What are the Components?
- OS Installation on Raspberry Pi
- Sense Hat.
- Bonus.
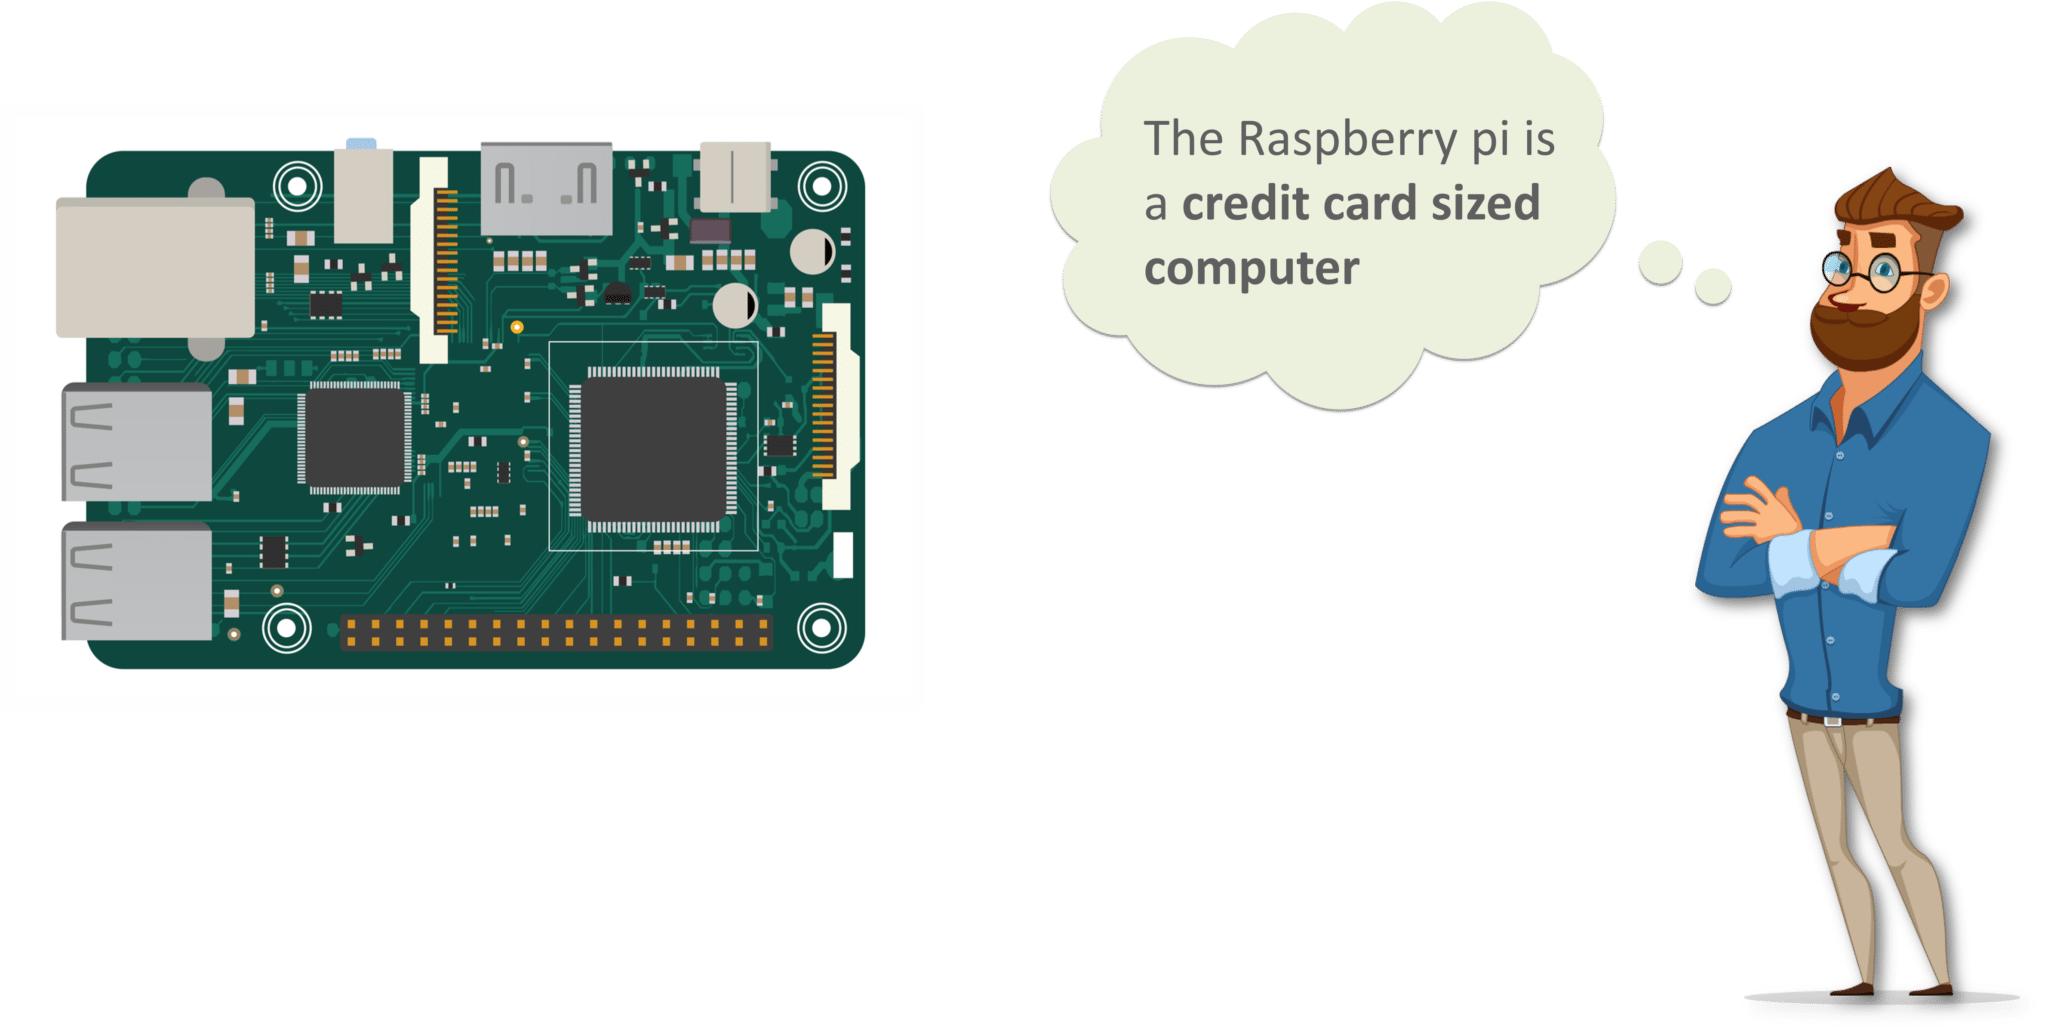

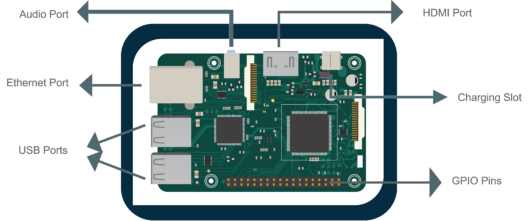
Raspberry Pi Ultimate Tutorial: Configuring Raspberry Pi
- The first step in configuring the raspberry pi would be to install the Raspbian Operating System. Go to https://www.raspberrypi.org/downloads/ and select the Raspbian O.S.

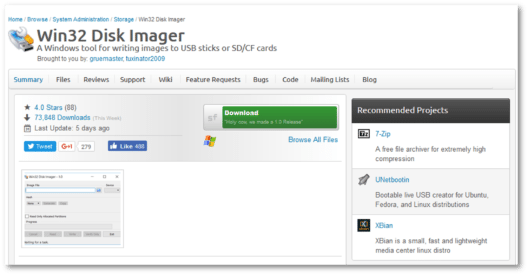
- Once you download the Raspbian operating system, you would need to format the S.D card and flash the Raspbian O.S onto your S.D card. So, you would require a disk imaging software. Go to SourcePage and download the Win32 Disk Imager.
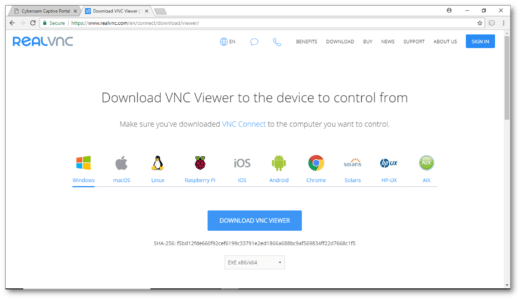
- We would also require a graphical desktop sharing system so that we can control the Raspberry Pi with a graphical user interface. One such graphical desktop sharing software is VNC Viewer. So, we’ll go ahead and download the VNC Viewer.
- After completing all of the above steps, we’ll finally insert the SD card into the micro SD slot and connect the power cable to the Pi.

- Next, connect the Raspberry Pi to the monitor & plug-in the power cable. Click on install Raspbian and follow the instructions to install the Raspbian OS on Raspberry Pi.
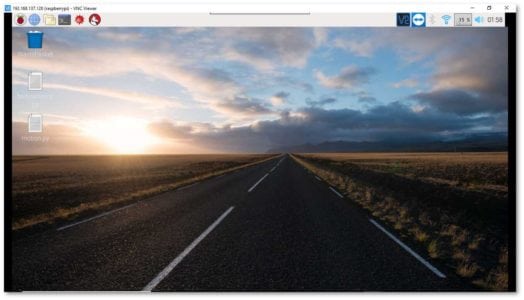
- Next time when you connect the power source to the Raspberry Pi, it’ll start searching for open wi-fi networks. So, we’ll turn on the mobile hot-spot in our system and let it connect. Once, the raspberry pi is connected to our wifi, we’ll take the dynamic IP of the Raspberry Pi and feed it into the vnc viewer dialog box, and voila we can start working with Pi.
5. Raspberry Pi Sense Hat:-
One of the brilliant things about the Raspberry Pi has always been the ability to attach external physical hardware to the Raspberry Pi. There are many add-on hats to the Raspberry Pi, one such HAT is the Sense HAT.
The Sense HAT comes with an 8×8 RGB LED matrix, a five-button joystick and includes the following sensors:
- Gyroscope
- Accelerometer
- Magnetometer
- Temperature
- Barometric pressure
- Humidity

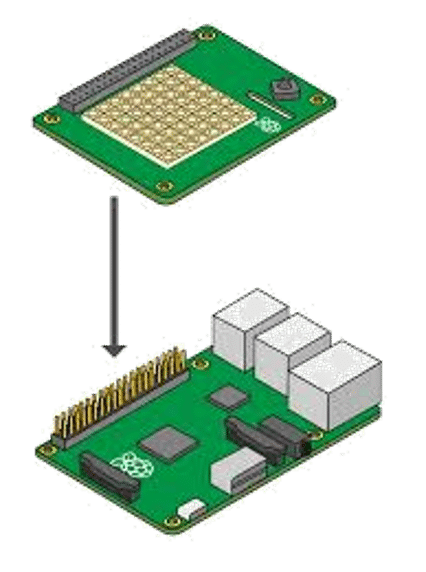
You can attach the Sense Hat to the raspberry Pi as shown in the below image.
I hope you would have found this Raspberry Pi tutorial blog informative and helpful. I would recommend you to stay tuned to Edureka channel to learn more about IoT applications.
6. So now its time for a bonus with Raspberry pi:-
For getting in-depth knowledge and starting your own project with Raspberry Pi we have video Tutorials for You from which you can start working on your own new project with raspberry pi, Step-by-Step.
So check the video for a trailer and if Really want to build awesome Projects Check the link Below The video.


Comments
Post a Comment
Please DO NOT ENTER ANY SPAM LINK IN COMMENT BOX.